How to Style a Bob Haircut at Home: 5 Methods for Different Hair Textures
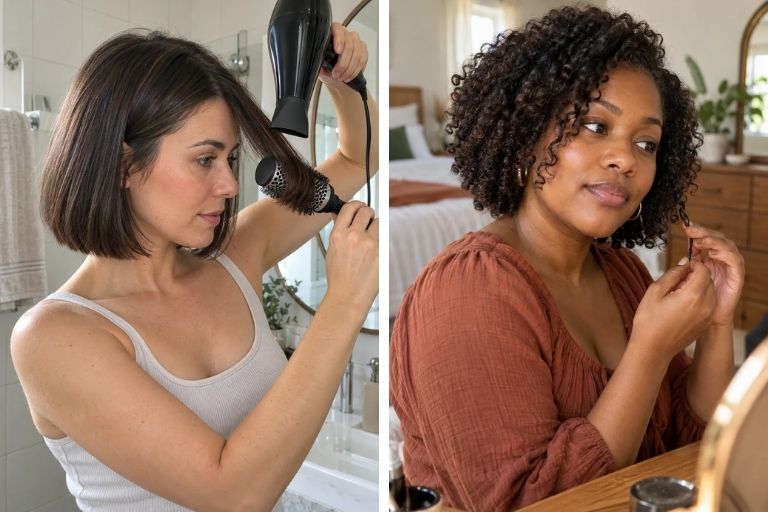
A bob haircut can look perfectly shaped when you leave the salon, then behave completely differently after your first wash at home. One side turns inward while the other flips out. The crown loses volume, the ends refuse to sit evenly, or your natural waves create a shape you weren’t expecting.
The haircut itself might be perfectly fine. What changes is the way you dry, section, and finish it.
Styling a bob becomes much easier when you work with its shape instead of trying to force every section into place. A blunt bob needs a different approach from a layered one, and naturally curly hair shouldn’t have to follow the same routine as straight hair.
You don’t need to recreate a complicated professional blowout every morning. With the right technique, you can wear your bob sleek, softly rounded, full of movement, or close to its natural texture.
These five styling methods show you how to get different results at home, what to do when the shape goes wrong, and how to keep your bob looking intentional between salon appointments.
Start by Understanding How Your Bob Is Cut
Before reaching for a hair dryer or styling cream, look at the actual shape of your haircut.
A bob isn’t simply short hair. Its cutting line, internal layers, and length around the front determine where the hair naturally falls.
A blunt bob has a relatively defined perimeter. A graduated bob may contain shorter layers at the back, creating a more structured silhouette. A shaggy bob uses layering and texture to create a looser shape, while a curly bob is often designed around the way curls spring and fall.
Your styling method should support those features rather than disguise them.
For example, a heavily rounded blowout may change the appearance of a sharp blunt bob. Straightening naturally curly hair every day might defeat the purpose of choosing a cut that celebrates your texture.
Match your desired finish to your haircut
| Your bob haircut | Finish to consider | Main styling focus |
|---|---|---|
| Blunt bob | Sleek or softly tucked ends | Smooth surface and defined perimeter |
| Layered bob | Airy, textured movement | Separation and controlled volume |
| Graduated bob | Rounded blowout | Direction and volume around the back |
| Wavy bob | Relaxed, tousled finish | Preserving natural bends |
| Curly bob | Defined natural curls | Moisture, curl grouping, and shape |
| Fine-hair bob | Lightweight volume | Root lift without heavy product |
These are options, not rules. You can experiment with different finishes while keeping your hair’s condition and natural behavior in mind.
Prepare Your Bob Before Styling
A great finished style begins with the condition of your hair, but preparation shouldn’t become a complicated ritual.
You only need products that serve a clear purpose.
For most routines, start with your usual shampoo, an appropriate conditioner, and a soft towel or cotton T-shirt. Add a suitable styling product if your desired finish needs it.
If you’ll use heat, choose a heat protectant appropriate for your hair and the styling tool.
Wash according to your scalp and texture
Concentrate shampoo on the scalp, where oil and product residue accumulate.
For straight or fine hair, conditioner may be most useful on the mid-lengths and ends. Dry or curly hair may need conditioning across more of the lengths.
Rinse thoroughly and gently remove excess water without vigorously rubbing the hair.
Detangle without unnecessary pulling
Straight hair is generally easier to detangle after it has dried slightly. For curly and tightly textured hair, detangling while damp and conditioned may be gentler.
Work carefully from the ends upward using a suitable wide-tooth comb or detangling tool.
Don’t force a brush through stubborn knots.
Choose your finish before adding products
If you want a sleek bob, select a suitable smoothing or lightweight leave-in product.
If you want volume, a small amount of mousse or root-lifting product may help.
For naturally curly hair, choose conditioning and curl-styling products appropriate for your texture.
Avoid applying several formulas simply because they’re part of someone else’s routine.
The American Academy of Dermatology recommends limiting heat exposure, using gentler settings, and handling wet hair carefully to reduce damage.
Method 1: The Sleek Bob With Smooth, Polished Ends
Best for: Straight or lightly wavy bobs, blunt cuts, and anyone who enjoys a clean, defined silhouette.
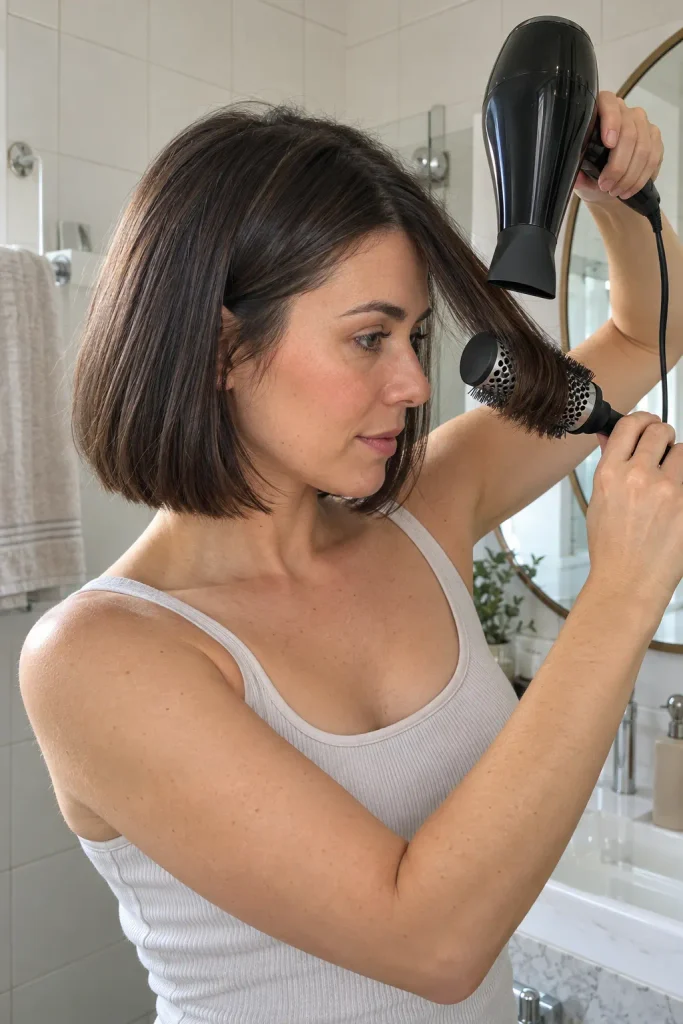
The sleek bob is deceptively simple. Because the style has little visible texture, uneven ends and awkward bends become more noticeable.
The aim isn’t to flatten the entire haircut against your head. It’s to create a smooth surface while preserving the natural shape of the cut.
How to create the look
1. Begin with partially air-dried hair.
Gently blot excess moisture and let your hair dry somewhat before using a dryer when practical.
Apply a heat protectant according to its instructions.
2. Separate your hair into manageable sections.
Create a horizontal section across the back and secure the upper hair loosely.
Start with the lower sections because these form the foundation of the finished outline.
3. Use a nozzle attachment to direct airflow.
A concentrator nozzle helps you direct air toward the section you’re styling.
Keep the dryer moving and direct the airflow along the hair shaft rather than repeatedly blowing the ends upward.
Use a low or medium heat setting.
4. Guide the ends with a brush.
A paddle brush can create a straighter finish. A round brush can introduce a soft inward curve.
Work gently without pulling tightly or keeping concentrated heat on one section.
5. Allow the hair to cool before adjusting it.
Once dry, let the sections settle before repeatedly brushing them.
Use a small amount of lightweight finishing product on the lengths if necessary.
The detail that makes a sleek bob look polished
Pay attention to where the front sections end.
If your bob has a clean cutting line, forcing every piece into a dramatic inward curl may hide that shape.
A subtle bend usually creates a softer finish.
If you have a side part, check whether both front sections fall naturally rather than trying to make them perfectly symmetrical.
What if your ends keep flipping outward?
Check whether your bob falls directly against your shoulders or clothing. That contact can influence the way the ends sit.
Try guiding the hair while drying instead of repeatedly straightening it afterward.
If the flipping happens every day, talk to your hairstylist about whether the length or cutting shape contributes to the problem.
Method 2: The Voluminous Bob With Lifted Roots
Best for: Fine or flat hair, graduated bobs, and anyone who wants a softer, fuller-looking silhouette.
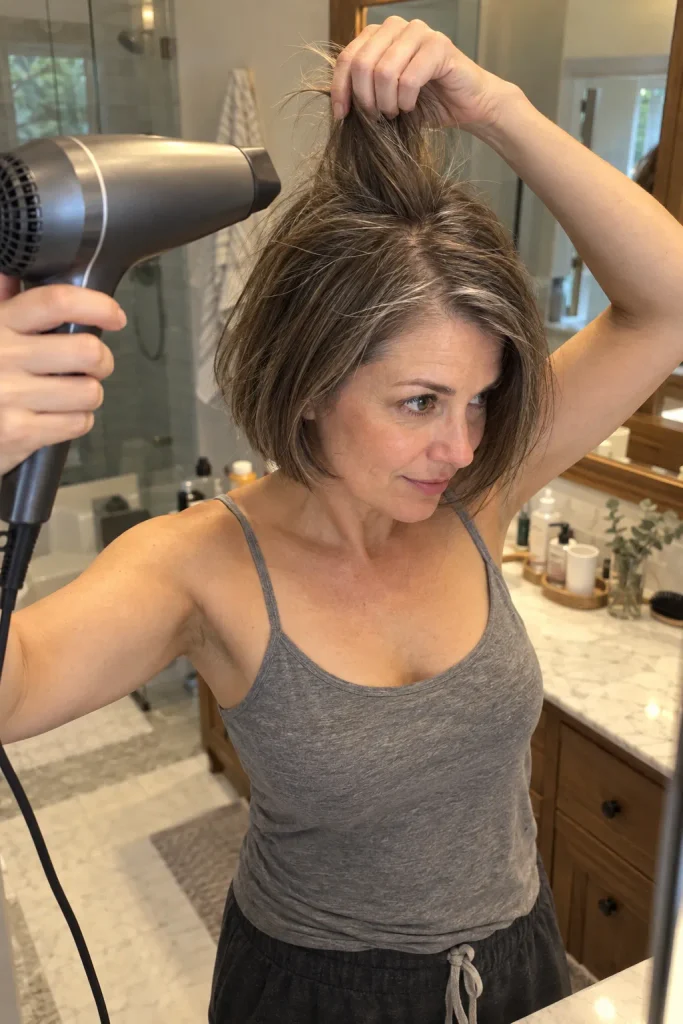
A voluminous bob doesn’t require dramatic teasing.
Instead, concentrate on the direction of the roots and the shape around the crown.
The most common mistake is creating volume at the ends while leaving the upper sections flat. That can produce a bottom-heavy silhouette rather than the balanced fullness you’re looking for.
Build volume in the right places
Start with clean hair and apply a small amount of lightweight volumizing product if you need styling support.
Allow your hair to dry partially.
Separate the crown from the lower sections.
Using your fingers or a suitable brush, gently lift a small section of hair away from the scalp.
With a hair dryer on a low or medium setting, direct airflow toward the lifted roots while keeping the dryer moving.
Continue through the areas where you want extra height.
Let each section cool before releasing it.
When the crown is finished, smooth the outer surface lightly rather than brushing through all the volume you’ve created.
Keep the bottom controlled
If the ends are already naturally full, avoid excessively curling them outward.
A subtle inward bend or a straighter perimeter can create contrast with the softly lifted crown.
The result should look airy rather than stiff.
Fine hair tip
If your roots lose volume quickly, avoid putting heavy oils and creams close to the scalp.
Use styling products only where they serve a purpose.
Method 3: The Soft Wavy Bob Without Perfect Curls
Best for: Straight-to-wavy hair, layered bobs, and relaxed everyday styling.

Soft waves can make a bob look more relaxed while emphasizing the haircut’s movement.
The trick is to avoid creating identical tight curls from root to tip.
Instead, focus on a few gentle bends through the middle sections, leaving some of the ends straighter for a casual finish.
Option A: Encourage waves you already have
If your hair naturally forms loose waves, begin while it’s damp.
Apply an appropriate lightweight styling product if needed.
Gently scrunch sections upward, encouraging the existing bends to group together.
Allow your hair to air-dry whenever practical.
Avoid continuously touching or brushing the sections while they dry, as this can disturb their shape.
Once completely dry, use your fingers to arrange the front pieces.
Option B: Create soft bends in naturally straight hair
For hair that doesn’t naturally form waves, a heat-free method may create a gentle bend, although the result depends on your texture.
Start with slightly damp—not soaking wet—hair.
Divide it into a few loose sections.
Twist each section gently and secure it without pulling tightly.
Allow the hair to dry completely before releasing the twists.
Separate the sections carefully with your fingers.
If your hair is too short for twists, soft rollers designed for your length may be easier to use.
What about curling irons?
Occasional heat styling can create more defined waves, but frequent use increases heat exposure.
If you choose a curling iron, follow the manufacturer’s instructions, use a suitable protectant, work on completely dry hair, and limit contact time and temperature.
The American Academy of Dermatology advises limiting heated tools and using low or medium heat settings where appropriate.
Don’t use high heat simply because your hair doesn’t hold a curl easily.
How to avoid the overly rounded bob
Keep some variation in the wave pattern.
Let a few sections frame the face naturally rather than forcing every curl in the same direction.
If your hair has a blunt perimeter, leaving the ends slightly straighter may help preserve that shape.
Method 4: The Natural Curly Bob That Holds Its Shape
Best for: Naturally curly and coily hair cut into a bob shape.
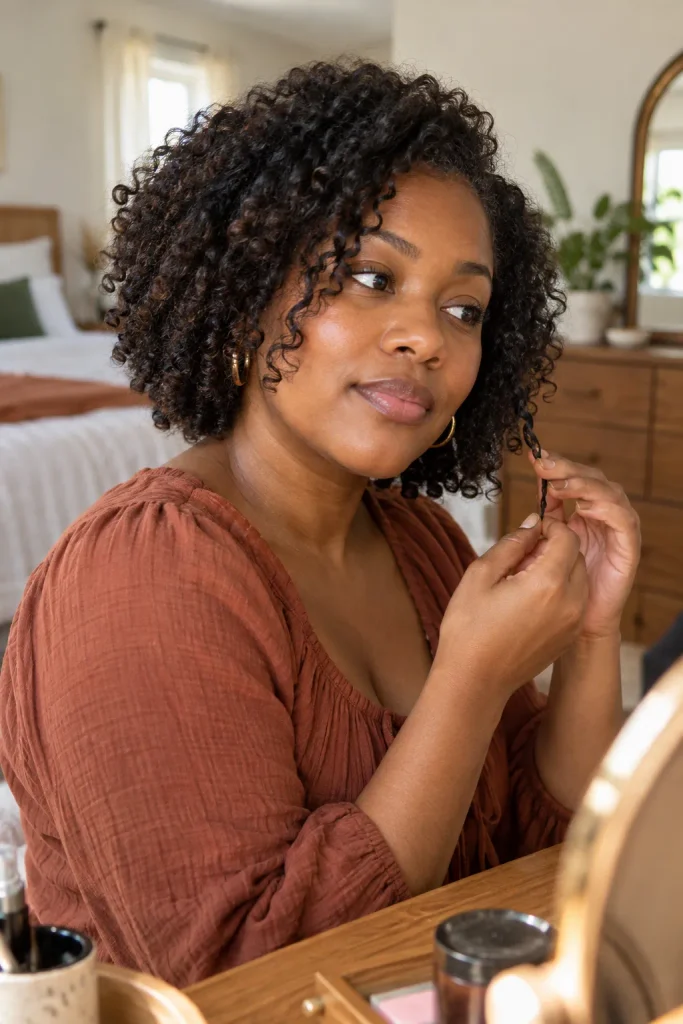
Curly bobs behave differently from straight bobs because the finished shape depends heavily on curl pattern, shrinkage, density, and where layers are placed.
A curly bob may be designed to create fullness around the cheeks, a rounded silhouette, or a softer, elongated outline.
The goal at home is to encourage your natural curl pattern while preserving the haircut’s intended shape.
Begin with adequate moisture
Use conditioner appropriate for your hair’s needs and detangle gently while the hair is damp and conditioned.
Apply a leave-in conditioner or curl-styling product if your hair benefits from it.
Distribute the product through manageable sections without pulling hard.
Encourage curl grouping
Working through the hair in sections, gently smooth or scrunch the strands to encourage them to group together.
You can also finger-coil selected pieces around the front if those curls need extra definition.
Don’t feel that every curl must look identical.
Natural variation contributes to the hairstyle’s character.
Dry with minimal disturbance
Air-drying is one option.
If you use a diffuser, select an appropriate low-heat setting and avoid concentrating heat in one spot.
Move carefully to prevent excessive tangling or disrupting the curl pattern.
Once dry, use your fingertips to adjust the silhouette.
Pay attention to the crown and sides
A bob with too much manipulation around the sides may develop a wider shape than intended.
Rather than continuously brushing or fluffing the hair, assess where additional volume would actually improve the outline.
If the haircut has grown into a shape you no longer like, a trim may be more useful than repeated styling adjustments.
Method 5: The Five-Minute Bob Refresh
Best for: Second-day hair, busy mornings, and bobs that only need minor adjustments.
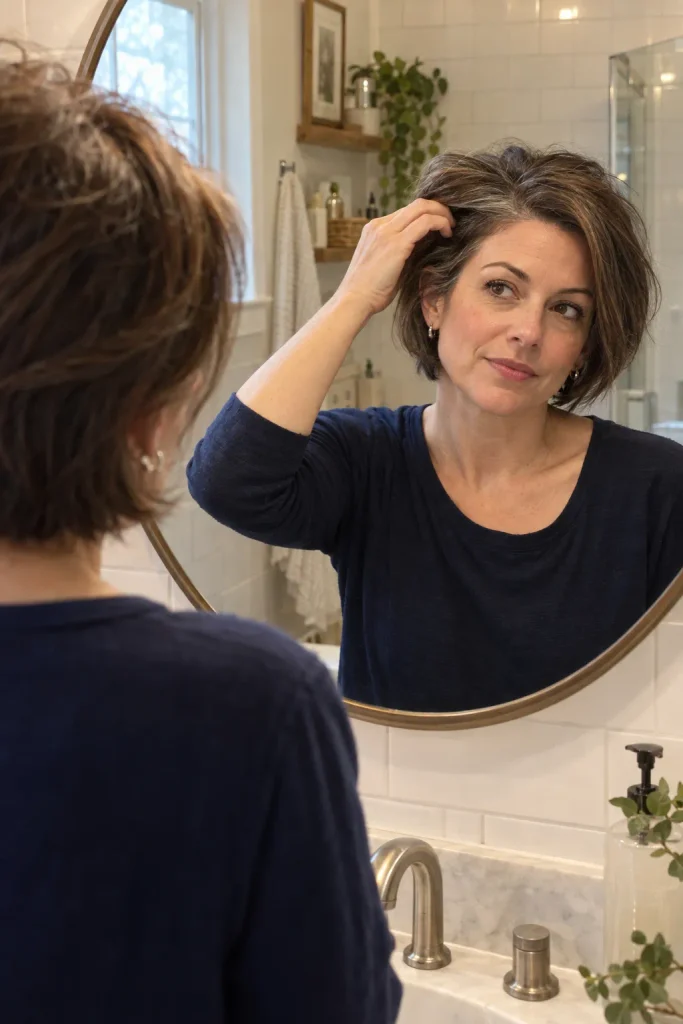
You don’t have to restyle your entire bob every morning.
Sometimes the haircut still has a good shape, but the front pieces have settled awkwardly or the crown looks flatter than it did yesterday.
A short refresh can be enough.
First, identify the problem
Is your hair oily at the roots?
Are the ends bent in different directions?
Have your waves lost definition?
Or does your hairstyle simply need a different part?
Avoid treating all of these problems in the same way.
For flat roots
Change your part slightly and gently lift the crown with your fingers.
If necessary, use a small amount of dry shampoo according to its instructions when oil is contributing to the flat appearance.
Remember that dry shampoo is not a substitute for washing.
For uneven ends
Use your fingers or brush to rearrange the sections.
If you need heat, use it sparingly with appropriate protection rather than restyling every section.
For soft waves
Gently reshape the sections with your hands.
If a wave needs refreshing, follow the directions for your chosen styling product and avoid making the hair excessively wet.
For curls
Use a refresh method compatible with your hair’s moisture needs.
Some curls respond well to a little water and conditioning product; others need minimal handling.
Focus on the sections that have lost definition instead of disturbing the entire hairstyle.
For bangs or a fringe
Work on the fringe separately.
A small adjustment around the face can make the whole haircut look more polished even when you leave the rest of the bob untouched.
How to Style a Bob With Bangs
A bob with bangs needs an additional consideration: the fringe often dries differently from the rest of the haircut.
Shorter pieces can develop bends or separate because of natural growth patterns.
If you have curtain bangs, you may prefer to guide them away from the face as they dry.
A blunt fringe may require more attention to its cutting line.
For side-swept bangs, work with the direction you want them to fall.
Avoid applying heavy products near your forehead if they cause the fringe to separate.
And remember that bangs often grow out more visibly than the rest of a bob.
Why Your Bob Looks Different on Each Side
This is one of the most frustrating parts of styling a short haircut.
You finish one side, and it falls perfectly. The other side turns outward, sits flatter, or develops a completely different bend.
Several factors can contribute.
Natural growth patterns
Hair doesn’t always grow in identical directions on both sides of your head.
Cowlicks and changes in root direction may cause one side to behave differently.
Differences in cutting shape
Some bobs are intentionally asymmetrical.
Others may have subtle differences in layers, density, or how the hair falls around the ears.
Your dominant styling hand
It can be easier to hold a brush or dryer at a comfortable angle on one side.
The opposite side may receive less consistent tension or airflow.
Sleeping position
The side you sleep on may have a different shape the next morning.
How to improve the balance
Work on the more difficult side first, while you have the most patience and time.
Pay attention to the root direction instead of repeatedly forcing the ends into place.
Use mirrors to inspect the back and sides of the haircut.
If the difference remains noticeable even after washing and styling, ask your hairstylist to check the shape.
Perfect symmetry isn’t necessary for a beautiful bob, but the finished silhouette should feel intentional.
Bob Styling Problems and What to Try
| Problem | Possible reason | First adjustment |
|---|---|---|
| Ends constantly flip outward | Hair meets shoulders or natural growth pattern | Adjust drying direction or length |
| Crown falls flat | Root direction, oil, or product weight | Lighten products and lift roots |
| Bob looks too rounded | Excess curl at the ends | Keep some ends straighter |
| Hair gets frizzy during blow-drying | Friction, dryness, or excessive heat | Reduce heat and handling |
| One side looks different | Growth pattern or styling angle | Work on that side first |
| Waves lose definition | Brushing or excessive handling | Preserve the natural wave pattern |
| Curls look uneven | Shrinkage and curl variation | Style in sections and assess when dry |
| Ends look sparse | Cut shape or low density | Discuss a fuller perimeter with your stylist |
| Bob looks greasy | Excess product or scalp oil | Simplify products and cleanse as needed |
Don’t try to solve every problem by adding more product.
Sometimes the answer is simply to change the direction you’re drying the hair, reduce manipulation, or reconsider the shape of the cut.
Choosing Tools for Your Bob Without Buying Everything
A short haircut doesn’t require an entire collection of salon equipment.
The tools worth owning depend on which hairstyle you actually wear.
For sleek bobs
A suitable brush and a dryer with a concentrator nozzle may be enough.
You don’t necessarily need to use a flat iron afterward.
For volume
A round brush that fits your hair length can help create root lift or a gentle bend.
Very large brushes may be difficult to use on short bobs.
For waves
Your fingers and a suitable styling product may be sufficient if your hair already has a natural wave pattern.
Loose twists or soft rollers offer alternatives to heat styling.
For curls
A wide-tooth comb, suitable conditioning products, and optionally a diffuser can help support a curl-friendly routine.
For refreshing
A few lightweight clips and a comb may be all you need.
Before purchasing another tool, decide which styling problem it will solve and whether your existing tools can already do the job.
How Often Should You Restyle Your Bob?
There isn’t one schedule that works for every hair texture.
A sleek bob may need minor adjustments between washes, while a naturally wavy bob might look better with minimal manipulation.
Some curly hairstyles maintain their definition for several days, depending on the styling method and sleeping routine.
You don’t need to use heat every day to maintain your haircut.
Excessive blow-drying, straightening, curling, and tight styling can contribute to damage over time.
The American Academy of Dermatology recommends limiting heat exposure, handling hair gently, and avoiding unnecessarily tight hairstyles.
If your bob only looks good after extensive daily styling, ask your hairstylist whether the cut could be adapted to your natural texture and routine.
Sometimes a small change in layers, length, or perimeter can reduce the amount of work needed at home.
When Your Bob Needs a Trim Instead of More Styling
A bob gradually changes shape as it grows.
A jaw-length cut may begin touching the neck or shoulders. A graduated bob can lose the definition around its nape, while a fringe may become difficult to arrange.
You may notice that:
- The ends no longer fall where you want.
- The cutting line appears uneven or less defined.
- Your bob consistently flips at an awkward length.
- The back has lost its original shape.
- Styling takes much longer than it did after the haircut.
These signs don’t necessarily mean your hair is damaged.
The haircut may simply have grown beyond the shape it was designed to maintain.
A salon appointment can help you decide whether to trim it back to its original length or transition into a longer style.
The Bob That Looks Best Is the One You Can Maintain
A sleek bob doesn’t need to be perfectly straight. A wavy bob doesn’t need identical curls, and a curly bob doesn’t need every strand to fall into a uniform pattern.
The important part is understanding what your haircut is designed to do and choosing styling methods that support its natural shape.
If you prefer smooth hair, focus on sectioning and gentle drying. If you want fullness, pay attention to the roots rather than adding excessive weight to the ends. If you have natural waves or curls, give that texture room to form.
You can also change the finish depending on the occasion.
A bob worn softly textured during the week may become sleek for an evening out. A natural curly bob can be arranged differently with a part or accessory.
Once you understand how the cut behaves, styling stops feeling like a daily struggle and becomes a way to make the haircut your own.
Sources and Further Reading
- American Academy of Dermatology — Hair Styling Without Damage
- American Academy of Dermatology — Tips for Healthy Hair
- American Academy of Dermatology — 10 Hair-Care Habits That Can Damage Your Hair
- Allure — Your Definitive Guide to Bob Haircuts
Editorial note: This article provides general styling guidance. Techniques should be adapted to hair texture, condition, and tool instructions. A qualified hairstylist can provide individualized advice for a specific bob shape.